
The activity of making Greeting cards is an enjoyable task. The reason why a handmade greeting card is an example of real feelings is that a card made with love and hard work is different from one purchased from a store. The design of a homemade card can be done in one’s own way, using colors and paper. Be it a birthday card, a card for a festival or thank you card or any other special occasion, one’s homemade card will make that person special. The reason why it is an enjoyable pastime activity for students and new learners who love art and craft is that anyone can do it.
Best Papers for Handmade Greeting Cards
1.Chart Paper
Size: A4 or A3 (you can cut as needed)
Why good: Thick, colorful, easy to fold
2.Ivory Sheet
Size: A4 (8.27 × 11.69 inches)
Why good: Smooth, Elegant white/cream finish
3. Cardstock Paper
Size: A4 or A5 after folding
Why good: Thick and strong, professional look
4. Handmade Paper
Size: A4
Why good: Natural texture, aesthetic look
5. Glossy Paper
Size: A4
Why good: Shiny surface, bright colors print well
6. Watercolor Paper
Size: A4 sheet cut to card size
Why good: Best for paints and watercolors
Step by step greeting card making process
Simple Folded Greeting Card
Materials
.A4 paper, cardstock, or chart paper
.pencil, eraser
.sketch pens or colors
.glue and scissors
Steps
.Take an A4 paper, fold it in half.
.Make a decision on whether your card will be vertical or horizontal.
.Create a simple design on the front of the invitation (balloons, heart symbol, flowers, and/or cake).
.Outline using black sketch pen.
.Color it neatly.
.You can write your message inside like ‘Happy Birthday’ or ‘Thank You’.
.Borders, patterns, etc.
.Remove space between borders
2. Birthday Pop-Up Greeting Card
Materials
2 colored papers
scissors, glue
sketch pens
Steps
Fold the main paper into half (card base).
Take another paper and fold it too.
Cut Two small slits in the middle of the folded side.
Push the cut part inside → this becomes the Pop-up step.
Draw and cut Cake / Gift box / Heart separately.
Paste it on the pop-up part.
Decorate the front page.
Write “Happy Birthday”.
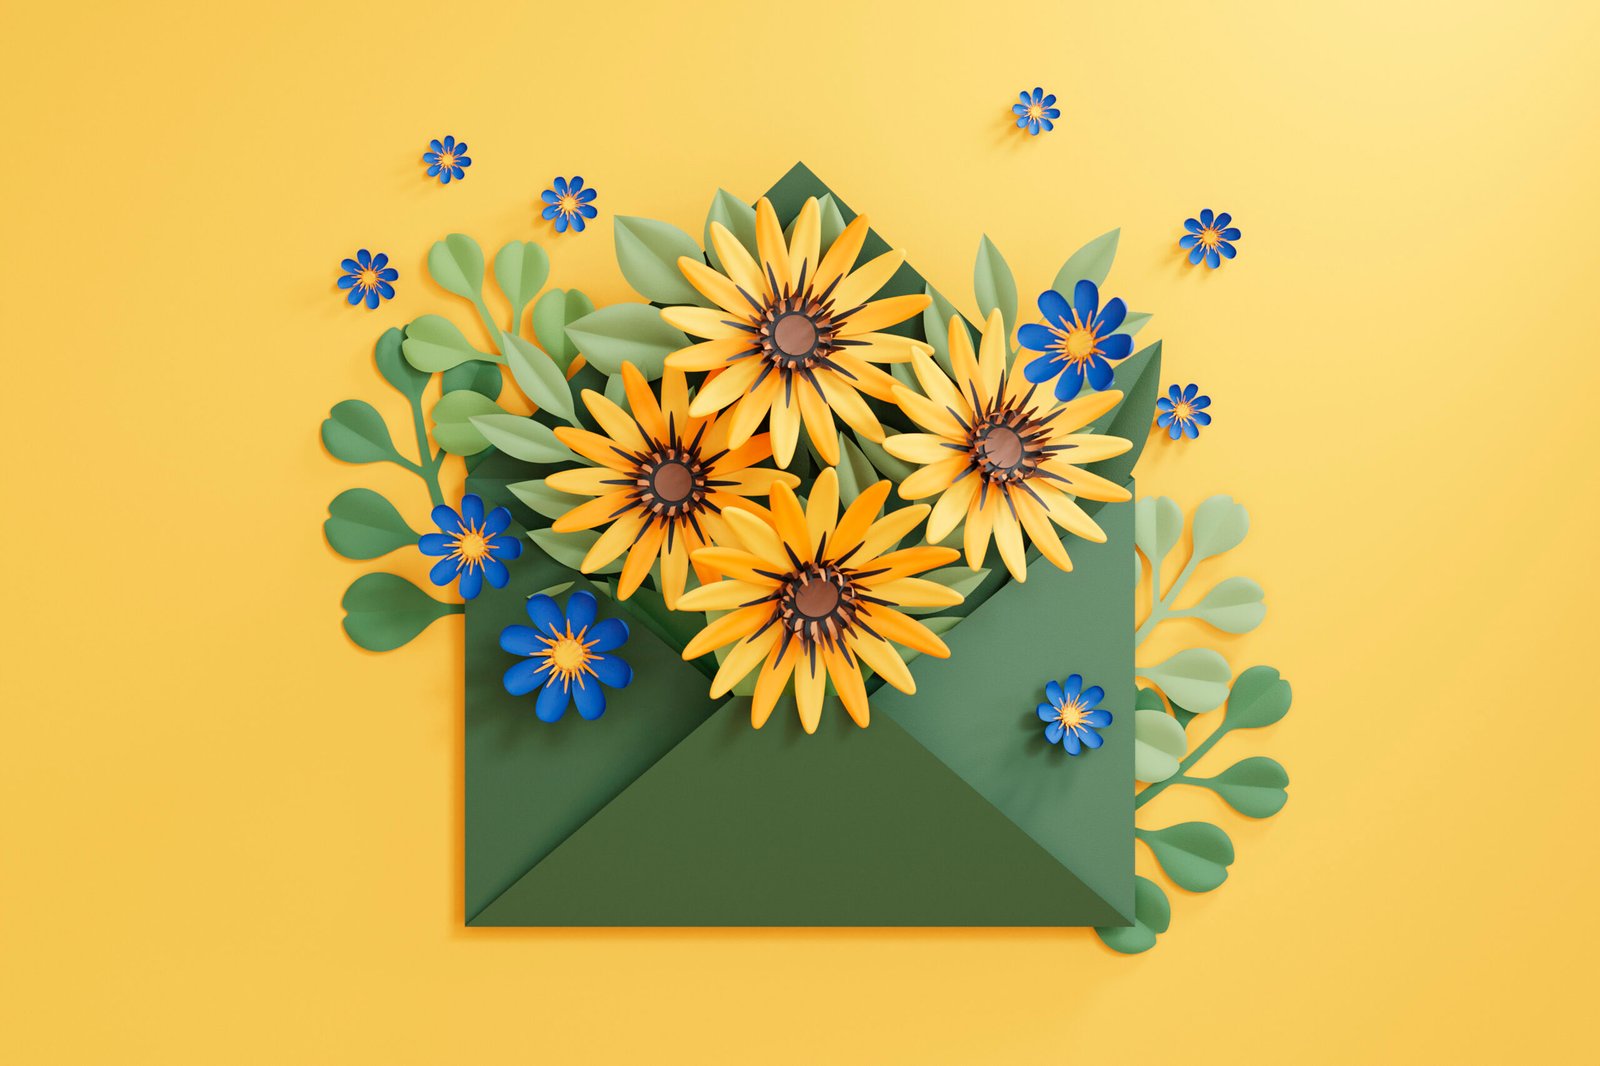
3. Flower Greeting Card
Steps
Draw flowers on colored paper.
Cut and paste them on the card.
Add leaves and stems with green pen.
Write message in middle.
4.Heart-Shaped Greeting Card
Steps
Fold paper in half.
Draw Half heart on the folded edge.
Cut and open → full heart shape.
Decorate with glitter, lace, stickers.
Write a small message.
5. Photo Greeting Card
Steps
Take thick paper or cardstock.
Paste your Photo in the center.
Decorate edges with washi tape / ribbon.
Write captions like:
Best Friend Forever
Memories
Happy Birthday
6. 3D Greeting Card (simple)
Steps
Cut small paper strips.
Roll them or fold them into fans.
Paste them to stand up slightly.
Make 3D balloons, flowers, stars.
7. DIY Glitter Greeting Card
Steps
Apply glue where you want shine.
Sprinkle glitter powder.
Shake extra glitter off.
Let it dry.
making welcome cards has proven to be a fun activity because it enables us to convey our genuine emotions in a unique way. With simple materials and ideas, beautiful welcome cards can be made at home easily. It has been observed that homemade welcome cards contain much more value than commercial welcome cards.